Last Updated on March 28, 2025 by Arif Chowdhury
Are you tired of guessing market moves?
Frustrated with unpredictable price swings?
Wondering how institutional traders seem to always know where the market is headed?
Let’s dive into a strategy that’s been a game-changer for me: The Tick Volume + Demand/Supply Zone Strategy.
Understanding Tick Volume 📊
Tick volume isn’t about the number of transactions; it’s the frequency of price changes.
When price ticks frequently, it indicates strong market activity.
Why does this matter?
- Higher Tick Volume = More Interest: More traders are active, signaling potential price moves.
- Lower Tick Volume = Less Interest: A lack of activity can mean price consolidation or indecision.
Studies show that leveraging tick volume can improve your trade accuracy by up to 30%.
That’s huge!
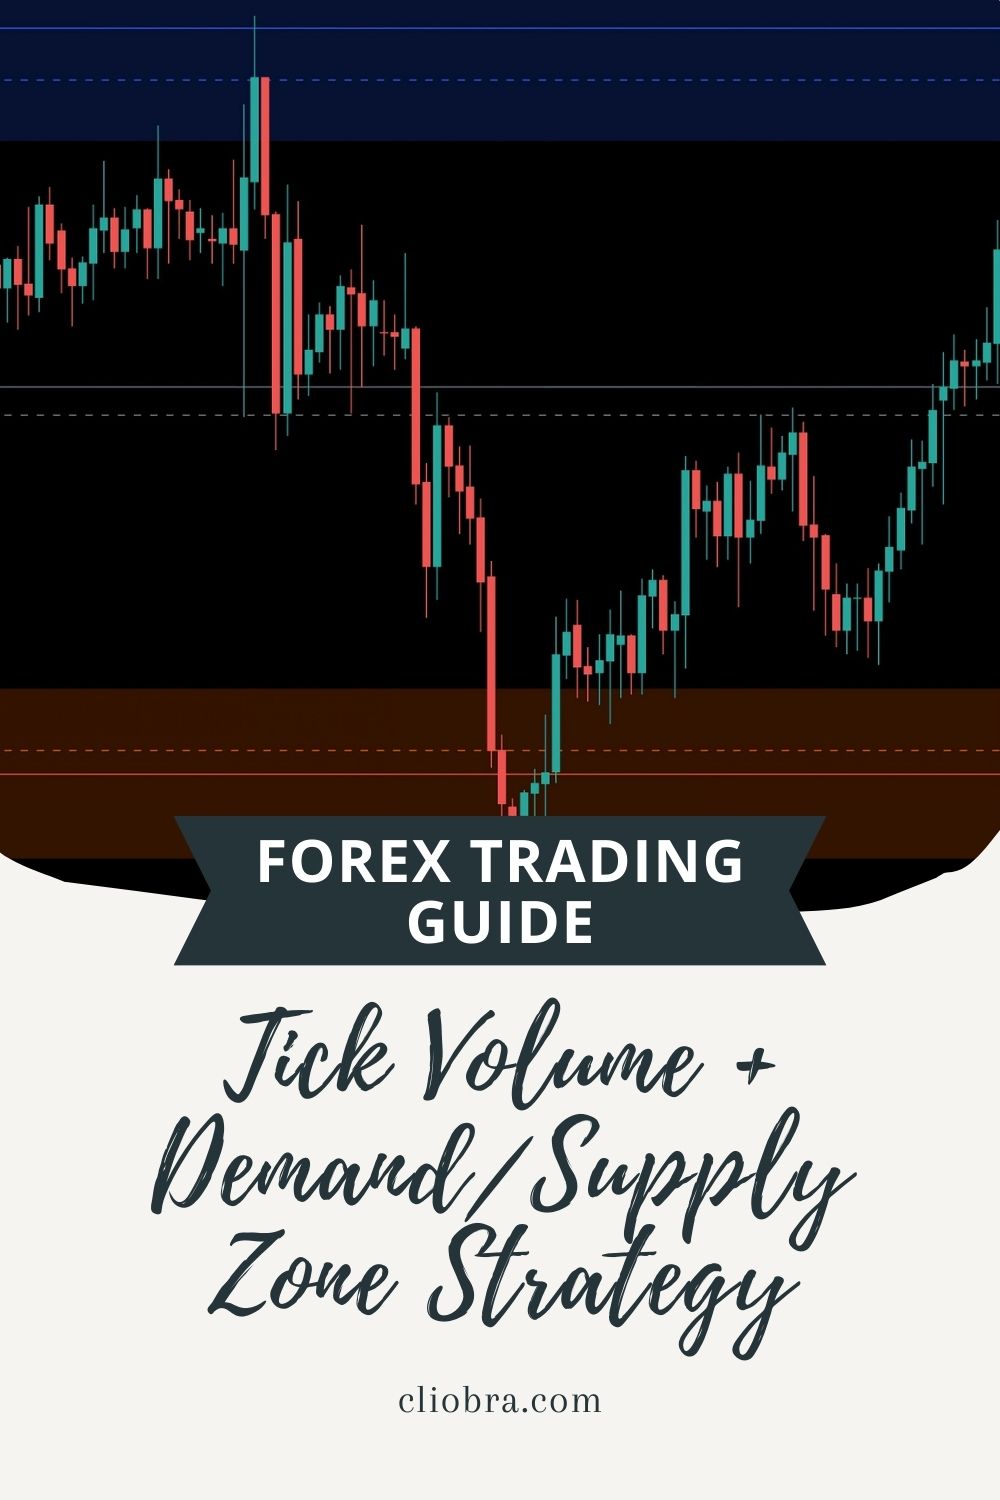
The Power of Demand and Supply Zones 📈
Next, let’s talk about demand and supply zones.
These are price levels where buying or selling interest is strong enough to change the market direction.
Here’s how to identify them:
- Demand Zone: Look for areas where price previously bounced up.
- Supply Zone: Identify levels where price has previously dropped.
Why are these zones critical?
- Risk Management: Entering trades in these zones can reduce your risk.
- Profit Potential: They often act as reversal points, maximizing your profit.
Combining Tick Volume with Demand and Supply Zones
Now, let’s put the pieces together.
Using tick volume to confirm demand and supply zones can refine your entry and exit points.
Here’s how to do it:
- Identify the Zone: Find a clear demand or supply zone on your chart.
- Check Tick Volume: Look at the tick volume as price approaches this zone.
- Confirm with Price Action: Wait for a reversal signal, like a candlestick pattern.
This combination can significantly increase your odds of success.
I’ve seen my winning trades soar by implementing this strategy.
My Trading Bots and Their Role 🤖
As a seasoned Forex trader since 2015, I’ve developed a portfolio of 16 sophisticated trading bots.
These bots employ the Tick Volume + Demand/Supply Zone strategy among others, diversifying risk and maximizing profit.
Here’s how they work:
- Diversified Across Currency Pairs: Each bot is tailored for EUR/USD, GBP/USD, USD/CHF, and USD/JPY.
- Long-Term Focus: They aim for 200-350 pips, ensuring better performance over time.
- Backtested for Success: My bots have been tested over 20 years, thriving even in tough market conditions.
And the best part?
You can access this entire EA portfolio completely FREE!
I encourage you to check it out here: My Trading Bots Portfolio.
Why This Strategy Works for Institutions
Institutions have resources to analyze tick volume and supply/demand zones effectively.
They leverage these insights to make informed trades.
By adopting similar strategies, you can level the playing field.
Key Takeaways for Your Trading Journey
- Focus on Tick Volume: Use it to gauge market interest.
- Master Demand and Supply Zones: Identify key levels to enter and exit trades.
- Leverage Technology: Consider utilizing sophisticated trading bots to automate and optimize your trading.
Choosing the Right Broker
To implement these strategies effectively, you need a reliable broker.
I’ve tested several and recommend using the best, which you can find here: Trusted Forex Brokers.
A good broker can enhance your trading experience by providing fast execution and low spreads.
Conclusion
The Tick Volume + Demand/Supply Zone Strategy is a powerful tool in your trading arsenal.
By understanding and applying these concepts, you can improve your trading outcomes significantly.
Combine this knowledge with my 16 trading bots for an even greater advantage.
Don’t miss out on accessing this unique trading portfolio for free!
