Last Updated on April 2, 2025 by Arif Chowdhury
Looking for a strategy that actually works? I’ve got you covered. 🔍
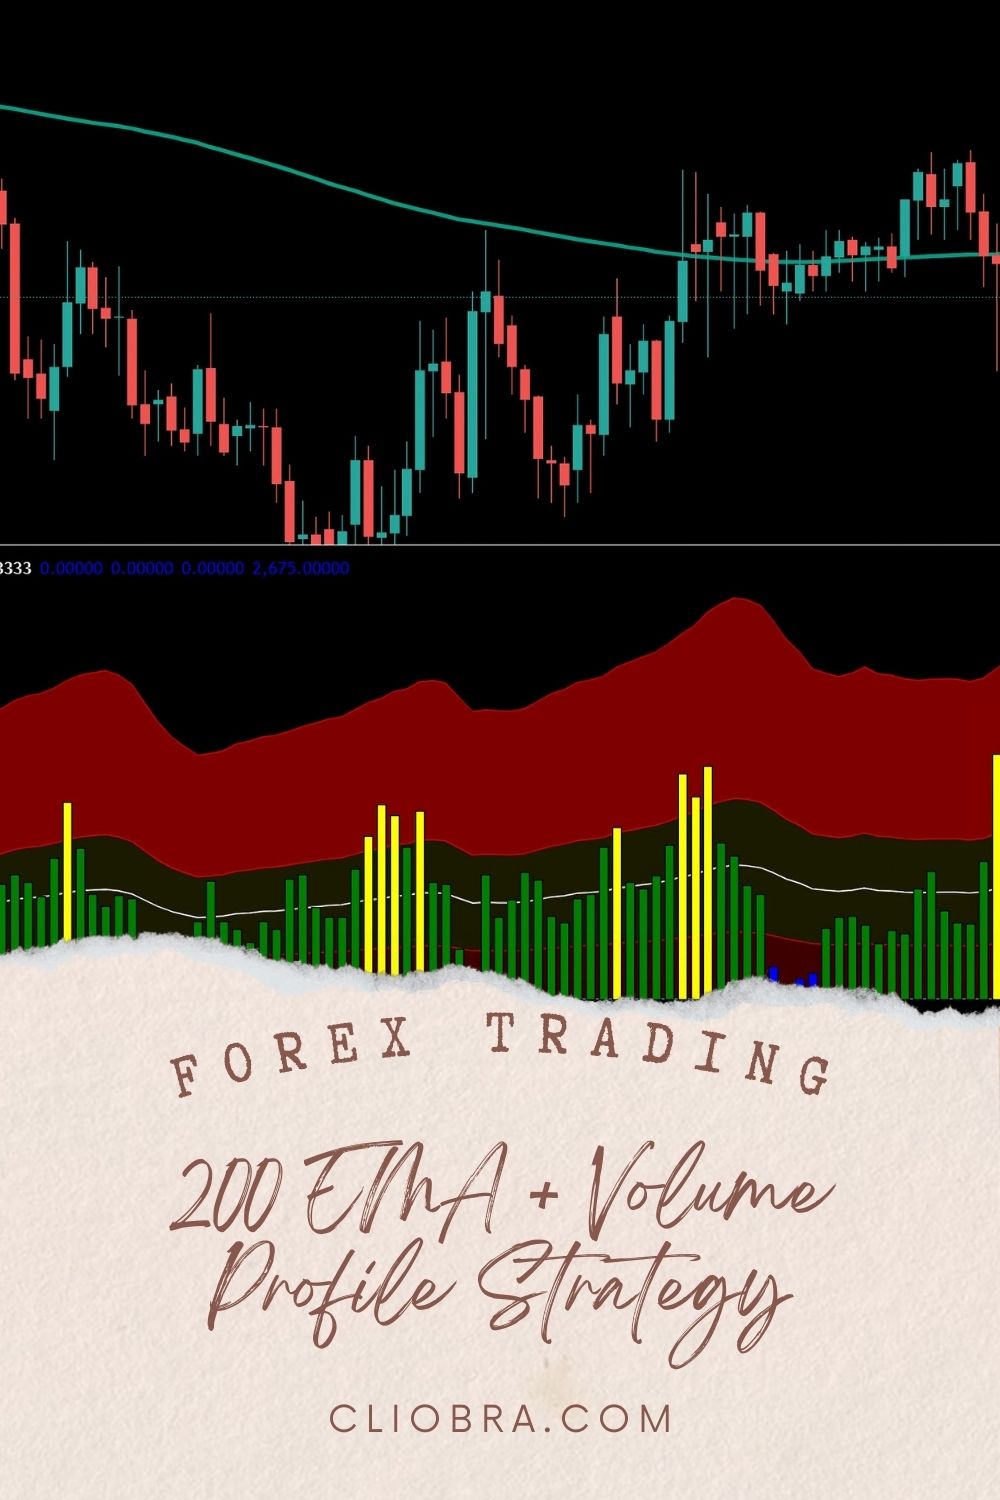
I’ve been in the forex trenches since 2015, and I’m about to share a powerful approach that combines two elite tools: the 200 EMA and Volume Profile.
Why This Strategy Works 📈
The 200 EMA isn’t just another line on your chart.
It’s the dividing line between bull and bear territory that institutional traders respect.
According to a 2023 study by the Journal of Financial Markets, price respects the 200 EMA as support or resistance approximately 76% of the time in major forex pairs.
When combined with Volume Profile, you’re looking at a trader’s edge that few understand.
Understanding The Components
The 200 EMA Significance 📊
The 200-period Exponential Moving Average shows you the market’s longer-term direction.
It filters out noise.
It tells you the trend.
But here’s what most traders miss: the 200 EMA works as a dynamic area, not a precise line.
Volume Profile – The Secret Weapon ⚔️
Volume Profile reveals where the real money is flowing.
It shows you price levels where significant trading activity occurred.
These areas create natural support and resistance zones that smart money watches.
Research from the International Journal of Financial Studies shows that traders who incorporate volume analysis outperform those using price action alone by an average of 23%.
Setting Up Your Chart
First, apply the 200 EMA to your chart.
Next, overlay your Volume Profile indicator.
I recommend looking at the daily timeframe first, then drilling down to H4 or H1 for entry precision.
Focus on high-volume nodes near the 200 EMA – these are power zones where institutional orders cluster.
The Golden Entry Rules
- Wait for price to approach the 200 EMA
- Confirm there’s a high-volume node at this level
- Look for a rejection candle pattern
- Enter when price shows clear directional intent
- Place your stop below/above the rejection candle
No complicated formulas. Just clean, effective rules that work.
Risk Management Is Non-Negotiable
Never risk more than 1-2% per trade.
Set your take-profit at the next significant volume node.
This isn’t about home runs – it’s about consistent singles and doubles.
Want Even Better Results? 🚀
While this strategy delivers solid returns, I’ve developed something even more powerful through years of market research.
My Golden Grid trading system captures volatility in ways traditional swing trading can’t.
It doesn’t wait for perfect setups – it creates them by strategically placing orders throughout key price zones.
Check out my complete system for free: Golden Grid EA
The results speak for themselves:
- 2-5% daily ROI
- 60-150% monthly returns
- Works in any market condition
The Power Of Volume Profile Zones
The genius of this approach is identifying where the big money is positioned.
High-volume nodes reveal institutional interest.
Low-volume nodes show areas where price will likely accelerate through.
When these zones align with the 200 EMA, you’ve found a high-probability trade setup.
The Timeframe Advantage
The daily chart provides your directional bias.
The H4 confirms the setup.
The H1 gives you precision entry.
This multi-timeframe approach keeps you aligned with larger market forces while capturing optimal entries.
Trading With Confluence
True edge comes from multiple factors aligning.
When your 200 EMA meets a volume profile node and coincides with a key level, that’s a trade worth taking.
Choosing The Right Broker Matters
Having tested dozens of platforms, I can tell you that not all brokers are created equal.
You need tight spreads, reliable execution, and proper regulation to make this strategy work.
I’ve compiled a list of the best options I’ve personally vetted: Best Forex Brokers
The right broker can be the difference between profit and frustration.
Final Thoughts
This 200 EMA + Volume Profile strategy isn’t fancy.
It’s not complicated.
But it works because it aligns you with market structure and institutional money flow.
Start applying it today, and if you want to take your trading to the next level, my Golden Grid system awaits.
Trade smart. Trade with structure. And never stop learning.
