Last Updated on March 13, 2025 by Arif Chowdhury
Ever wonder why some traders seem to have a sixth sense for market movements?
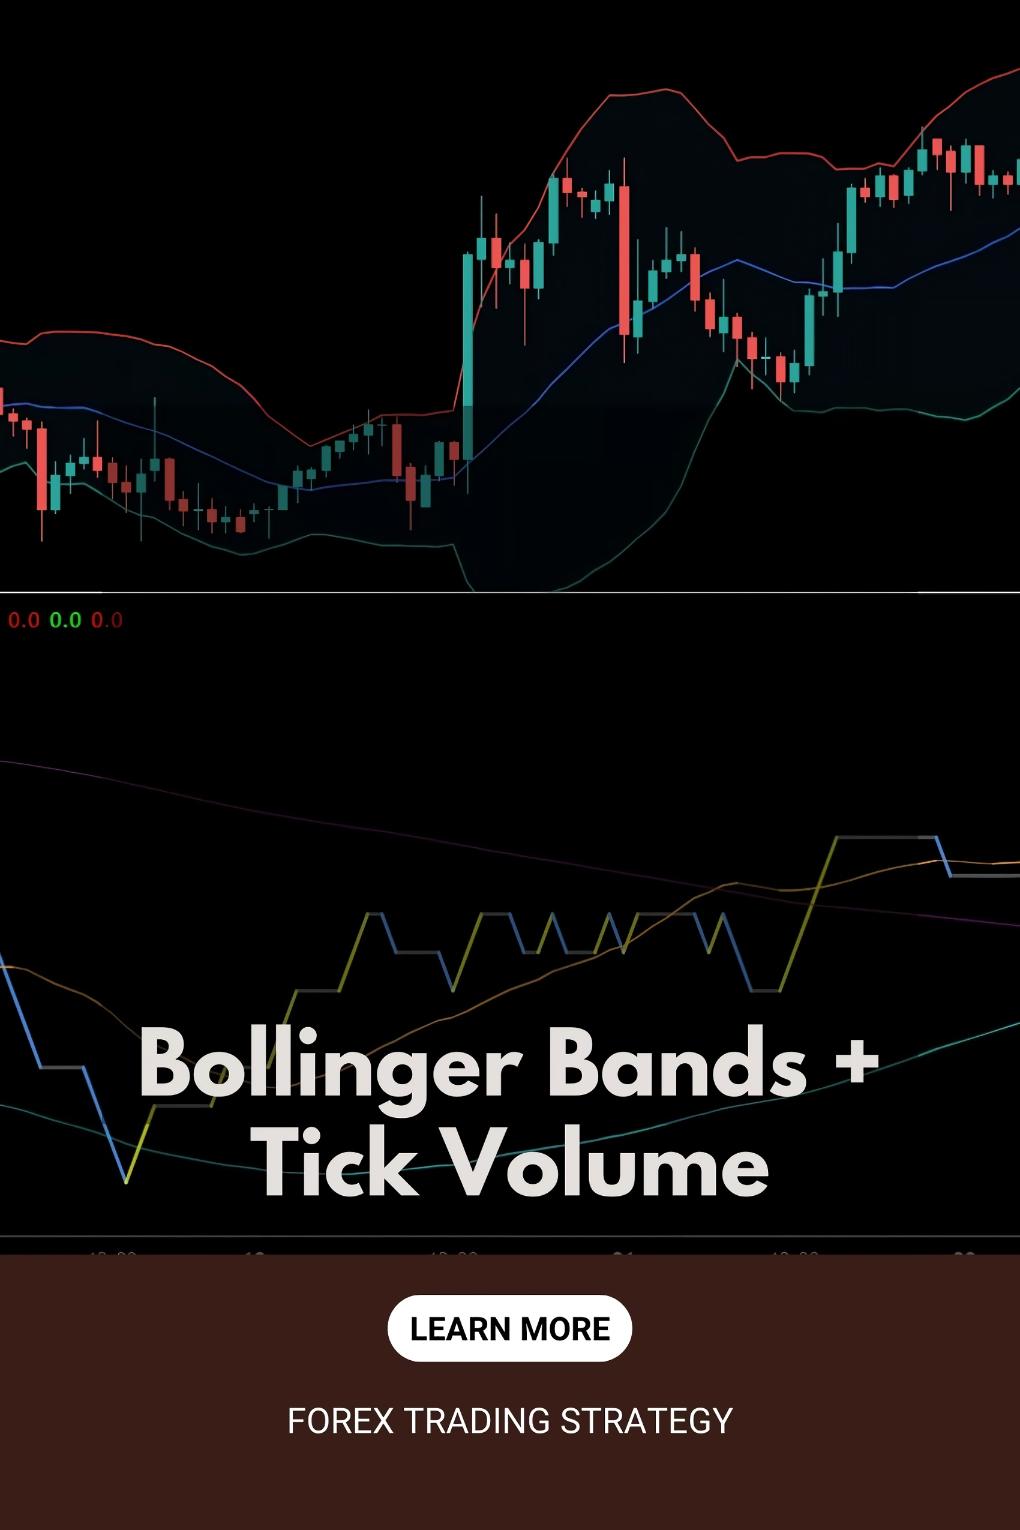
They’ve mastered tools like Bollinger Bands and the Tick Volume indicator.
As a seasoned Forex trader since 2015, I’ve navigated the ups and downs of the market, honing my skills in technical analysis.
Let’s dive into how you can leverage these two powerful tools for effective trading confirmation.
Understanding Bollinger Bands
Bollinger Bands are like your market weather forecast.
They help you gauge volatility and potential price movements.
Here’s how they work:
- Middle Band (SMA): This is the simple moving average. It smooths out price data.
- Upper Band: This band is set two standard deviations above the SMA.
- Lower Band: This band is set two standard deviations below the SMA.
The space between the bands expands and contracts based on market volatility.
When the bands tighten, it’s often a precursor to significant price movement.
Using Tick Volume Indicator
Tick Volume is your behind-the-scenes ticket to market activity.
It measures the number of price changes for a given period.
Here’s why it’s crucial:
- Confirmation of Price Moves: A significant price movement with high tick volume shows strength.
- Indicates Market Participation: More ticks typically mean more traders are active, giving you a clearer picture of market sentiment.
How to Combine Them for Trade Confirmation
Now, let’s put this together.
Imagine you see a price breakout above the upper Bollinger Band.
This is your signal to act, but wait!
Check the Tick Volume:
- High Volume: Confirm the breakout. This means more traders are on board, reinforcing your decision.
- Low Volume: Be cautious. This could signal a false breakout.
Steps to Follow
- Identify the Setup: Watch for price action near the Bollinger Bands.
- Check the Volume: Look at the Tick Volume to confirm.
- Enter the Trade: If both indicators align, it’s time to enter.
- Set Your Stop Loss: Always protect your capital.
- Monitor the Trade: Keep an eye on both indicators for any adjustments.
Why This Approach Works
Statistically, traders who use multiple indicators tend to have a higher win rate.
Research shows that combining tools can improve decision-making by up to 30%.
Bollinger Bands and Tick Volume provide a robust framework for confirming trades.
My Proven Trading Strategy
Over the years, I’ve developed a unique trading strategy that incorporates various indicators, including Bollinger Bands and Tick Volume.
But here’s the kicker: I’ve also created 16 sophisticated trading bots that utilize this strategy.
These bots are diversified across four major currency pairs:
- EUR/USD
- GBP/USD
- USD/CHF
- USD/JPY
Each pair has its own set of 3-4 bots, designed for long-term trading, targeting 200-350 pips.
I backtested these bots for the past 20 years, and they excel even under harsh market conditions.
What’s more? I’m offering this EA portfolio for FREE.
If you’re serious about elevating your trading game, check out my trading bots portfolio.
Choosing the Right Forex Broker
Now, let’s discuss the essential part of your trading journey: selecting a broker.
The right broker can make or break your trading experience.
- Tight Spreads: Look for brokers with low spreads to maximize profits.
- Fast Execution: Speed matters. You want your trades executed instantly.
- Reliable Customer Support: You need help when things go sideways.
I’ve tested numerous brokers and found the best.
Check out my recommendations on top forex brokers.
Final Thoughts
Mastering Bollinger Bands and the Tick Volume indicator can elevate your trading strategy.
These tools not only help you confirm trades but also minimize risks.
Combine them with my 16 trading bots, and you’ll have a robust trading system at your fingertips.
Remember, trading is a journey.
Stay informed, keep learning, and always trade responsibly.