Last Updated on February 27, 2025 by Arif Chowdhury
Ever felt like you’re constantly getting stopped out of trades?
Or maybe you enter a position only to watch the market immediately reverse on you?
I’ve been there. And it sucks.
But what if I told you combining two simple indicators could dramatically improve your entry timing? 🎯
As a seasoned Forex trader since 2015, I’ve discovered that pairing the 200 EMA with Elder’s Force Index creates a powerful confirmation system that can transform your trading results.
Why These Two Indicators Work So Well Together 📈
The 200 EMA (Exponential Moving Average) is already trusted by institutional traders worldwide.
Did you know? Studies show that approximately 80% of institutional traders reference the 200 EMA in their trading decisions, making it one of the most watched technical indicators in the market.
But here’s where most traders go wrong:
They use the 200 EMA alone as a complete strategy.
It’s not.
Elder’s Force Index adds the critical volume component to your analysis, showing you the actual force behind price movements.
When these two indicators align, magic happens.
What Exactly Is Elder’s Force Index? 🔍
Developed by Dr. Alexander Elder, the Force Index measures:
- The direction of price change
- The magnitude of the move
- The volume behind the move
The formula is simple: Force Index = Volume × (Current Close – Previous Close)
But don’t let the simplicity fool you.
This indicator reveals whether big money is truly behind a move or if it’s just market noise.
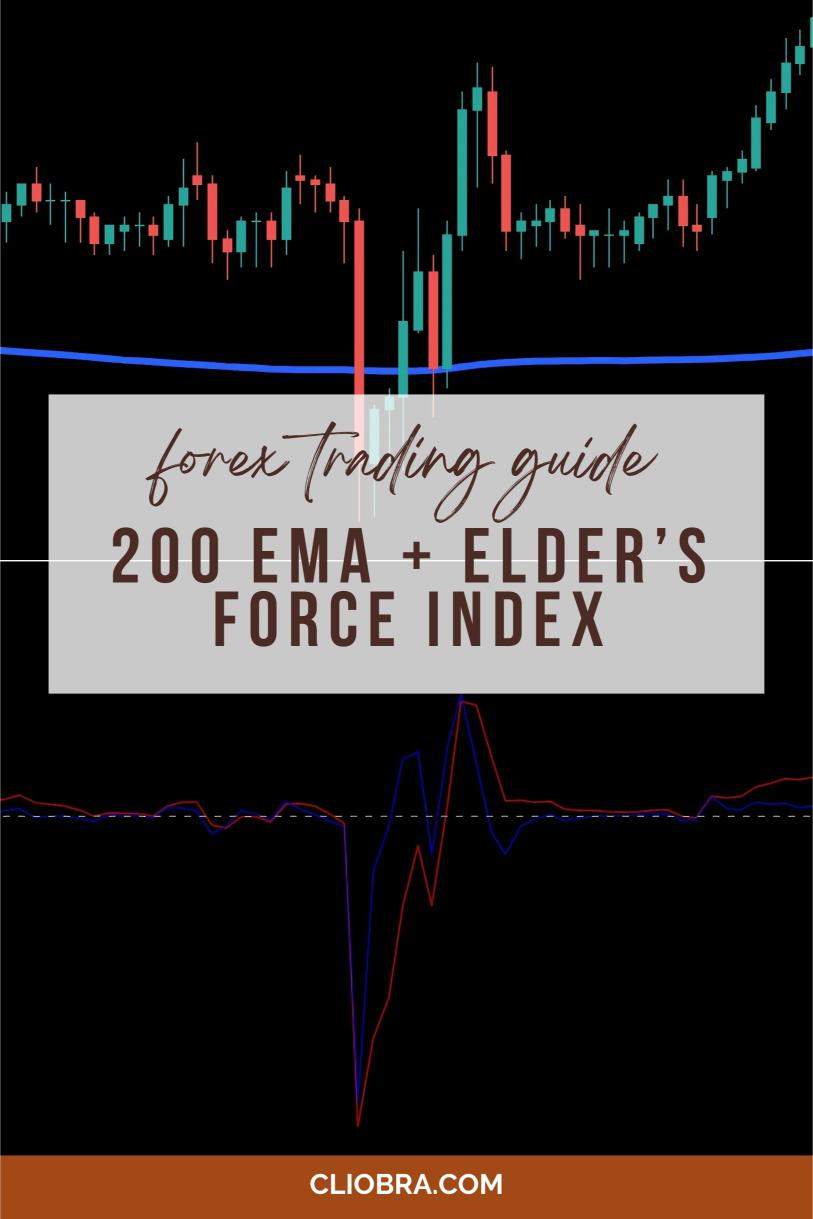
The 200 EMA + Force Index Setup 🛠️
Here’s how to set it up properly:
- Add the 200 EMA to your H4 chart
- Add Elder’s Force Index with a 13-period setting
- Look for specific confirmation patterns (more on this below)
Did you know? Research indicates that combining momentum indicators with trend indicators can increase win rates by up to 15-20% compared to using either type in isolation.
The 5 Powerful Confirmation Signals 💪
1. Trend Confirmation Buy Signal
- Price crosses and closes above the 200 EMA
- Force Index turns positive after being negative
- This confirms upward momentum with volume support
2. Trend Confirmation Sell Signal
- Price crosses and closes below the 200 EMA
- Force Index turns negative after being positive
- This confirms downward momentum with real selling pressure
3. Trend Continuation Buy Signal
- Price pulls back to test the 200 EMA from above
- Force Index remains positive or shows a higher low
- This indicates the pullback is likely temporary
4. Trend Continuation Sell Signal
- Price rallies to test the 200 EMA from below
- Force Index remains negative or shows a lower high
- This suggests the rally is likely just a retracement
5. Divergence Signal (Most Powerful)
- Price makes a new high/low
- Force Index fails to confirm with its own new high/low
- This warns of potential trend exhaustion and reversal
Timeframe Optimization 🕒
While this strategy works on any timeframe, I’ve found the H4 chart provides the optimal balance between signal quality and frequency.
Speaking of optimization, my journey led me to develop a comprehensive suite of 16 advanced trading bots that utilize this exact strategy among others.
Check them out for FREE at EA Portfolio.
Each bot is carefully calibrated for specific currency pairs, taking the guesswork out of implementation.
Risk Management Rules (Non-Negotiable) ⚠️
- Never risk more than 1-2% per trade
- Always place stops below/above relevant structure
- Take partial profits at 1:1 R:R, then move stop to breakeven
- Let winners run for 200-350 pips (where this strategy truly shines)
Common Mistakes to Avoid ❌
- Don’t fight the 200 EMA trend direction
- Don’t ignore Force Index divergences
- Don’t enter on the first candle close – wait for confirmation
- Don’t overtrade – quality over quantity always wins
Broker Selection Matters 🏦
Your broker’s execution quality directly impacts whether your entries catch the exact confirmation points this strategy requires.
Through extensive testing across dozens of platforms, I’ve compiled a list of the most reliable Forex brokers with minimal slippage and competitive spreads. Find them at Trusted Forex Brokers.
Advanced Tip: Multi-Pair Correlation 🌐
For maximum effectiveness, apply this strategy across multiple non-correlated pairs.
This approach mirrors how my trading bots operate across EUR/USD, GBP/USD, USD/CHF, and USD/JPY, with each currency pair utilizing 3-4 specialized algorithms.
This multi-layered diversification significantly enhances overall system stability while minimizing the risk of simultaneous losses.
The Bottom Line 🎯
The 200 EMA + Elder’s Force Index strategy isn’t complicated.
But it is powerful.
It’s about following a proven system that confirms trends with actual buying/selling pressure.
Try it yourself.
Or let my thoroughly backtested bots (20+ years of historical data) do the work for you.
Either way, stop guessing and start confirming your trades properly.
Your trading account will thank you.