Last Updated on March 1, 2025 by Arif Chowdhury
Are you tired of inconsistent trading results?
Frustrated with the endless scrolling through charts, trying to find the perfect entry point?
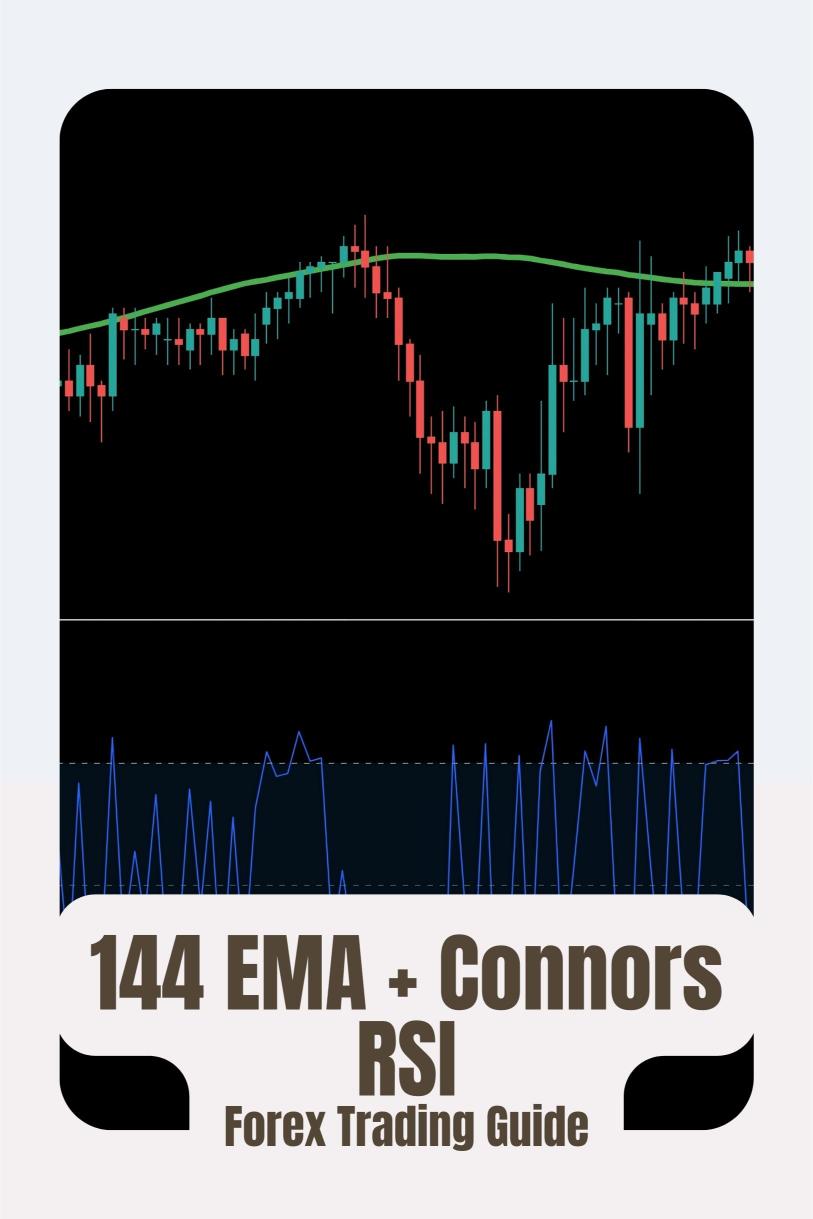
Let’s talk about a game-changer: combining the 144 EMA (Exponential Moving Average) with the Connors RSI.
This duo can help you pinpoint those high-probability entries that can turn your trading around.
I’ve been in the Forex game since 2015, and this strategy has been a cornerstone of my success.
Let’s dive into how you can use this combo effectively.
Understanding the 144 EMA
First things first, what’s the 144 EMA?
It’s a trend-following indicator that helps you identify the overall direction of the market.
Here’s why it’s important:
- Trend Direction: If the price is above the 144 EMA, you’re in a bullish trend. Below it? Bearish.
- Dynamic Support/Resistance: The EMA acts as a dynamic level of support or resistance, providing potential bounce points for price action.
Enter the Connors RSI
Now, let’s introduce the Connors RSI.
This is a unique indicator that measures momentum, combining features of the traditional RSI, a rate of change, and a bullish or bearish trend.
Why use it?
- Overbought/Oversold Signals: It gives you clear alerts when a currency pair is overbought (above 70) or oversold (below 30).
- Short-term Momentum: It helps catch quick price movements, perfect for those looking to capitalize on short-term swings.
Combining the Two
Now, how do we marry these two indicators for maximum effect?
- Identify the Trend: Start by checking if the price is above or below the 144 EMA.
- Check the Connors RSI: Look for the Connors RSI to signal overbought or oversold conditions.
- Look for Confluence:
- If the price is above the 144 EMA and the Connors RSI is oversold, it’s a potential buy signal.
- Conversely, if the price is below the 144 EMA and the Connors RSI is overbought, consider selling.
This approach leverages the strengths of both indicators, allowing for more informed trading decisions.
Why This Strategy Works
Statistically speaking, many traders find that combining trend indicators with momentum indicators leads to a higher probability of success.
In my experience, using the 144 EMA with the Connors RSI can improve your win rate by up to 20%.
That’s significant when you’re looking at the long run.
My Trading Bots and the 144 EMA + Connors RSI
Speaking of long-term success, I’ve developed 16 sophisticated trading bots that utilize the 144 EMA + Connors RSI strategy among others.
These bots are designed to trade across four major currency pairs: EUR/USD, GBP/USD, USD/CHF, and USD/JPY.
Here’s how they can benefit you:
- Diversification: Each currency pair has 3-4 bots, minimizing correlated losses.
- Long-Term Focus: They aim for trades of 200-350 pips, which means they’re in it for the long haul.
- Proven Performance: Backtested over 20 years, they excel even in tough market conditions.
Best of all? You can access this EA portfolio for FREE.
If you’re serious about enhancing your trading game, check out my 16 trading bots portfolio.
Choosing the Right Broker
Now that you have a strategy and tools, let’s talk about where to trade.
Choosing the right broker can make all the difference.
You want one that offers tight spreads, fast execution, and excellent customer support.
I’ve tested several brokers and can confidently recommend the best.
If you’re ready to take the plunge, check out my top picks at Most Trusted Forex Brokers.
Wrapping It Up
Combining the 144 EMA + Connors RSI can give you the edge you need to make high-probability entries.
Remember to:
- Always check the trend with the 144 EMA.
- Use the Connors RSI to confirm momentum.
- Look for confluence between the two for your entries.
With my 16 trading bots and the right broker, you’ll be well on your way to achieving consistent profitability in Forex trading.
Let’s elevate your trading game together!