Last Updated on March 27, 2025 by Arif Chowdhury
Ever wonder why some traders seem to catch every big move in the market while others are left scratching their heads?
It’s frustrating.
You’ve probably heard about various trading strategies, but the key is finding one that actually works consistently over time.
I get it.
As a seasoned Forex trader since 2015, I’ve faced those same challenges. Through lots of trial and error, I’ve developed a strategy that’s not just theoretical but practical and proven.
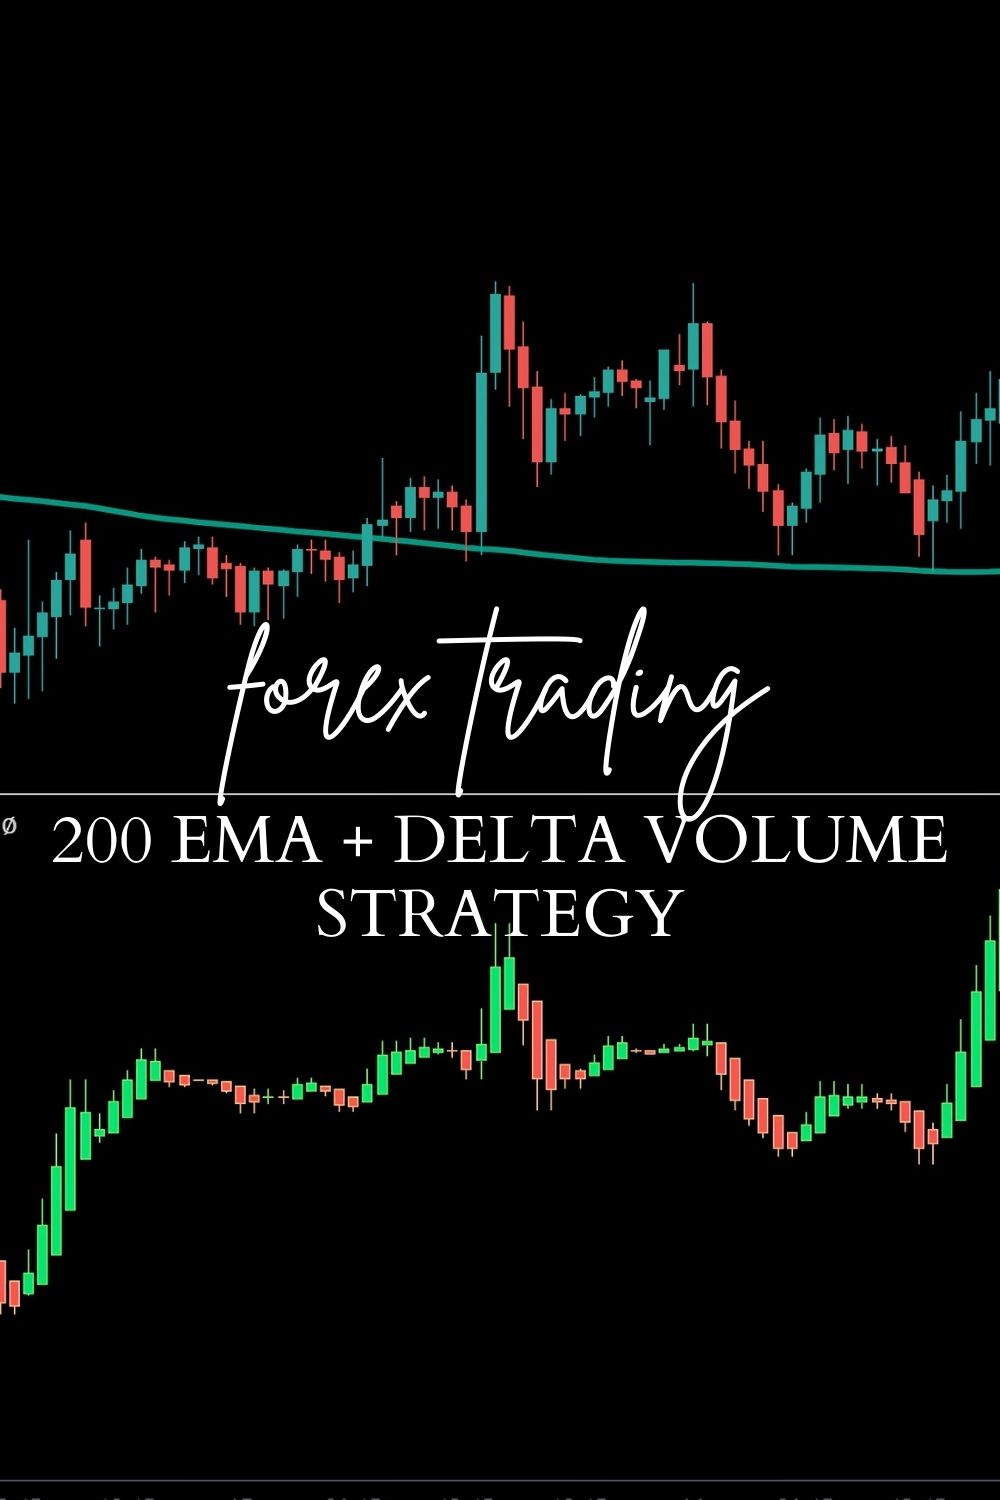
Let’s dive into the 200 EMA + Delta Volume Strategy.
Why the 200 EMA?
The 200 Exponential Moving Average (EMA) is one of the most respected tools in the trading community.
Why?
- It smooths out price action, helping you see the bigger trend.
- It’s a significant level where institutional traders often place their buy and sell orders.
- It provides dynamic support and resistance levels.
Statistically, many traders find that around 70% of price movements occur in the direction of the 200 EMA.
That’s powerful.
When price is above the 200 EMA, you’re looking at a bullish trend. When it’s below, it’s bearish. Simple, right?
Introducing Delta Volume
Now, let’s talk about Delta Volume.
This is the difference between buying and selling volume over a specific period.
Why should you care?
- It helps identify whether buyers or sellers are in control.
- High delta volume indicates strong institutional interest in a currency pair.
- It can signal potential reversals or continuations in price.
By combining the 200 EMA with Delta Volume, you can refine your entries and exits, capturing those institutional moves more effectively.
Putting It All Together
Here’s how to implement this strategy:
- Identify the Trend:
- Check if the price is above or below the 200 EMA.
- Use this to decide whether you’re looking for buy or sell signals.
- Analyze Delta Volume:
- Look for spikes in delta volume that align with your trend.
- High positive delta volume while above the 200 EMA? That’s a potential buy signal.
- High negative delta volume while below? Time to consider selling.
- Set Your Stops and Targets:
- Use recent highs or lows for stop placements.
- Aim for at least 200-350 pips in profit, especially on H4 charts.
This approach is all about capturing those big institutional moves while minimizing risk.
My Trading Bots and the 200 EMA Strategy
I’ve taken this strategy and integrated it into my 16 sophisticated trading bots.
Here’s why this matters:
- Each bot is designed specifically for major currency pairs: EUR/USD, GBP/USD, USD/CHF, and USD/JPY.
- They utilize the 200 EMA + Delta Volume Strategy among other techniques to diversify risk and maximize profits.
- This multi-layered approach means you’re less likely to experience correlated losses.
Statistically, my bots have been backtested over 20 years and perform exceptionally well—even in adverse market conditions.
And the best part?
You can access this entire EA portfolio for FREE.
Just check out my trading bot portfolio here and see how these algorithms can work for you.
Choosing the Right Brokers
To implement this strategy effectively, you need a reliable broker.
I’ve tested a variety of brokers and found the best ones that cater to your trading needs.
- Look for brokers with tight spreads and excellent execution speeds.
- Consider those that offer good leverage options.
If you’re ready to start trading with a trusted broker, check out my recommended list of the best Forex brokers here.
Final Thoughts
The 200 EMA + Delta Volume Strategy isn’t just another approach; it’s a way to align yourself with the market’s major players.
By understanding the trend and institutional volume, you’re setting yourself up for success.
Remember, trading isn’t just about the tools you use but how you use them.
And with my 16 trading bots, you can leverage this strategy without the stress of manual trading.
So why wait? Dive in, explore the resources, and start capturing those institutional moves today!