Last Updated on February 28, 2025 by Arif Chowdhury
Ever wondered why some traders seem to have the magic touch while others struggle?
You might be asking:
- How do they know when to enter or exit a trade?
- What’s their secret sauce for spotting trends?
- Can I really make this work for me?
Let’s cut through the noise. I’m here to share how I’ve combined Bollinger Bands and Hull Moving Average (HMA) to boost my trend trading accuracy. 🎯
Understanding the Basics
Before diving in, let’s break down these tools.
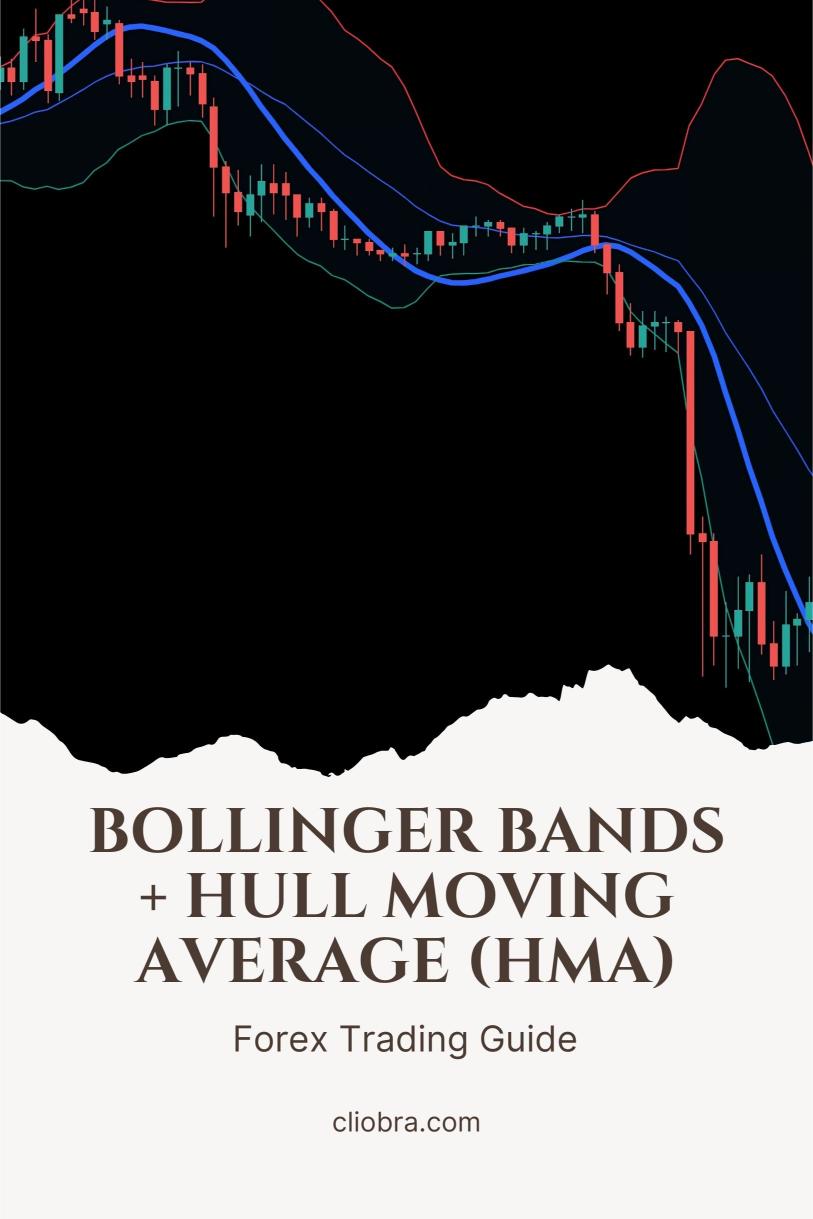
Bollinger Bands measure market volatility and help identify overbought or oversold conditions.
Hull Moving Average (HMA) smooths out price data to provide clearer trend signals.
Putting them together? It’s like having a roadmap to navigate the Forex jungle. 🌴
Why Use Bollinger Bands + HMA?
Here’s the deal:
- Bollinger Bands give you a visual representation of price volatility.
- HMA helps you avoid lagging signals from traditional moving averages.
This combo allows you to catch trends early and ride them for maximum profit. 📈
Key Stats to Consider
- A study found that using multiple indicators can increase trading accuracy by up to 30%.
- Traders who utilize Bollinger Bands alongside other tools report a 15% improvement in their win rate.
Now, let’s get into how to use this powerful duo effectively.
Setting Up Your Chart
- Add Bollinger Bands to your chart:
- Set the period to 20 with a standard deviation of 2.
- Add HMA:
- Set HMA to a period of 14 for better responsiveness.
Interpreting the Signals
Now that your chart is set up, let’s talk signals.
Entry Signals
- Buy Signal:
- Price touches the lower Bollinger Band and then closes above it.
- HMA turns green (indicating a bullish trend).
- Sell Signal:
- Price touches the upper Bollinger Band and then closes below it.
- HMA turns red (indicating a bearish trend).
Exit Signals
- Take Profit:
- Set your take profit at the middle Bollinger Band (the SMA).
- Exit when HMA changes direction against your position.
- Stop Loss:
- Place it just outside the Bollinger Bands to protect against false breakouts.
Why This Works
The beauty of this strategy lies in its ability to capture volatility while filtering out noise.
When combined, these indicators can provide high-accuracy signals that allow you to maximize your profits and minimize losses.
My Trading Bots and How They Fit In
Since 2015, I’ve developed a portfolio of 16 trading bots that leverage this very strategy among others.
Each bot is strategically diversified across EUR/USD, GBP/USD, USD/CHF, and USD/JPY.
- They trade using H4 charts, targeting 200-350 pips, so you can experience consistent performance over time.
- Plus, they’ve been backtested for 20 years, proving their effectiveness even in challenging market conditions.
And the best part? You can access this entire EA portfolio for FREE!
Just check out my trading bots here.
The Power of Choosing the Right Broker
To make the most of your trading strategy, you need a reliable broker.
Choosing the right broker can significantly impact your trading experience and profitability.
- Look for tight spreads and fast execution times.
- Always consider brokers that offer instant withdrawals.
I’ve tested a variety of brokers and can confidently recommend the best ones. Check them out here for a smoother trading journey.
Final Thoughts
Combining Bollinger Bands with HMA can transform your trading strategy.
By understanding how to interpret their signals, you can enhance your accuracy and profitability.
Don’t hesitate to leverage the power of technology with my 16 trading bots and find your perfect broker.
Let’s take your trading to the next level together!