Last Updated on November 3, 2024 by Arif Chowdhury
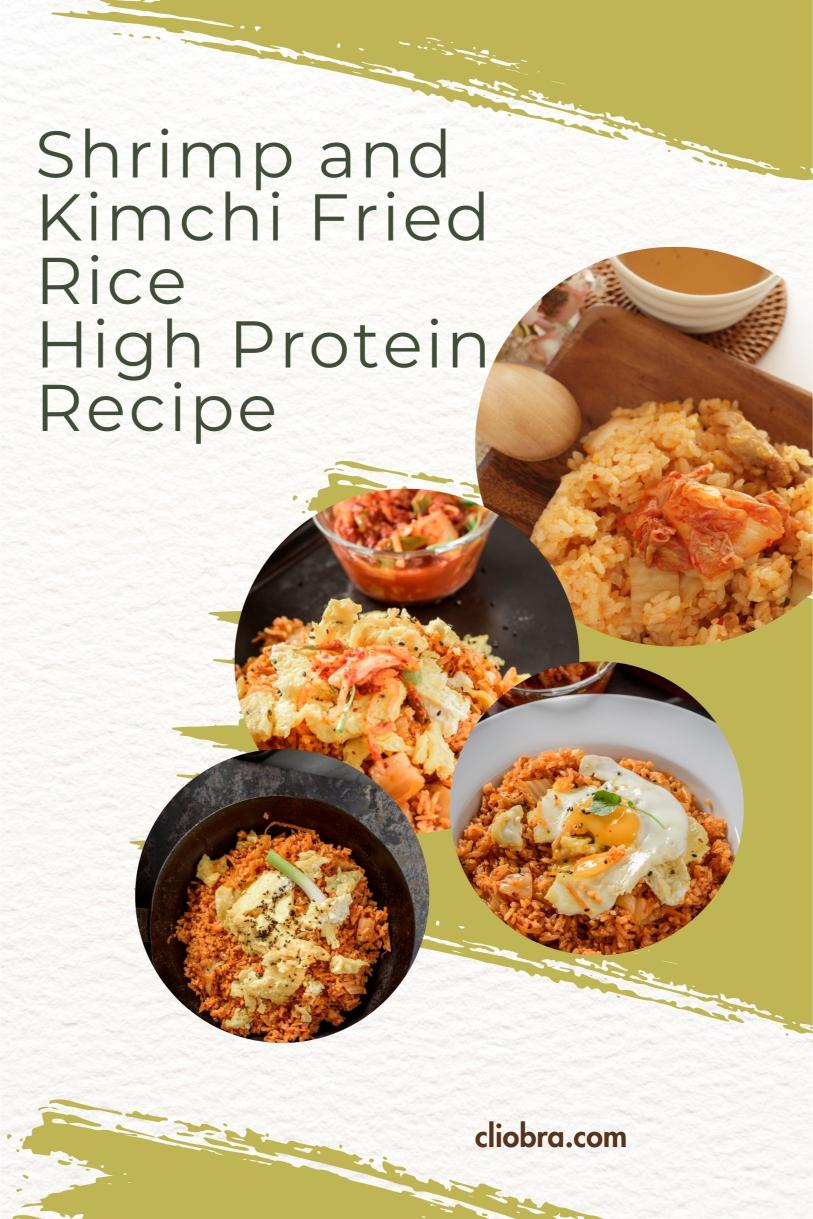
Look, I’ll be honest – I used to think “healthy fried rice” was an oxymoron. But holy smokes, was I wrong!
After countless late-night kitchen experiments (and yes, a few smoky disasters), I’ve cracked the code on a dish that’s become my go-to when I’m craving something that hits all the right notes without derailing my fitness goals.
Did you know that kimchi, that fermented powerhouse of Korean cuisine, contains just 23 calories per cup while delivering a whopping dose of probiotics? That’s basically like eating flavor-packed gut health magic!
Why This Recipe Is Your New Secret Weapon
Before we dive into the nitty-gritty, let me tell you why this isn’t just another fried rice recipe cluttering up your Pinterest board. This bad boy:
- Packs a serious protein punch from the shrimp (a 3-ounce serving contains 20 grams of protein!)
- Features gut-healthy kimchi that’ll make your microbiome do a happy dance
- Comes together faster than your takeout delivery guy can find your address
- Actually helps with weight loss (more on that below!)
The Skinny on Why This Works for Weight Loss
Here’s the deal: Recent studies have shown that people who regularly consume fermented foods like kimchi are 26% more likely to maintain a healthy weight.
The combination of lean protein from shrimp and the thermogenic properties of kimchi’s spicy components creates a metabolism-boosting powerhouse.
What You’ll Need
Ingredients
- 2 cups cooked brown rice (preferably day-old)
- 12 large shrimp, peeled and deveined
- 1 cup well-fermented kimchi, chopped
- 3 green onions, sliced (separate white and green parts)
- 2 cloves garlic, minced
- 1 tablespoon low-sodium soy sauce
- 2 teaspoons sesame oil
- 2 large eggs
- Cooking spray
- Optional: gochugaru (Korean red pepper flakes)
Equipment
- Large non-stick skillet or wok
- Spatula
- Small bowl for eggs
Let’s Get Cooking!
Step 1: Prep Your Protein
- Pat those shrimp dry like they’re coming in from a rainstorm
- Season with a tiny pinch of salt and black pepper
- Heat your skillet over medium-high heat
- Spritz with cooking spray
- Cook shrimp for 2 minutes per side until they’re pink and slightly curled
- Remove and set aside (we’ll bring them back to the party later)
Step 2: The Flavor Base
- In the same pan, add 1 teaspoon sesame oil
- Toss in white parts of green onions and garlic
- Cook until fragrant (about 30 seconds)
- Add kimchi and stir-fry for 2 minutes until it starts to caramelize
Step 3: Rice Revolution
- Add remaining sesame oil
- Throw in your day-old rice
- Break up any clumps like you’re breaking bad habits
- Let it sit for 30 seconds between stirs to get those crispy bits
- Add soy sauce and keep stir-frying for 3-4 minutes
Step 4: Bringing It All Together
- Return shrimp to the pan
- Add green parts of onions
- Stir everything together until well combined
- Make two wells in the rice mixture
- Crack eggs into wells
- Cover and cook for 2 minutes until eggs are set but yolks are still runny
Tips for Maximum Deliciousness
- Using day-old rice isn’t just food snobbery – it actually makes for better texture and fewer calories. Fresh rice tends to get mushy and clump together.
- Don’t skip the egg! The runny yolk creates a natural sauce that ties everything together.
- If your kimchi is super sour (meaning it’s well-fermented), you might want to dial back the soy sauce a bit.
Nutritional Breakdown (Per Serving)
- Calories: 375
- Protein: 25g
- Carbs: 45g
- Healthy Fats: 12g
- Fiber: 4g
Makes 2 servings, because let’s be real – you’ll want leftovers.
Storage and Reheating
Toss any leftovers in an airtight container and they’ll keep in the fridge for up to 2 days. Just reheat in a pan with a splash of water to bring back that fresh-made magic.
Pro tip: maybe skip reheating the egg and fry up a fresh one instead.
The Bottom Line
Listen, I’m not saying this dish will change your life… but I’m not not saying that either. It’s that perfect sweet spot between “I’m being good” and “Oh my god, this is amazing!” Plus, you’ll feel like a kitchen ninja putting it together.
So what are you waiting for? Grab your wok and let’s get this party started! And hey, if you mess it up the first time, just call it “recipe testing” and try again. That’s what I did!
